Showing posts with label Packaging. Show all posts

Wednesday, April 12, 2017

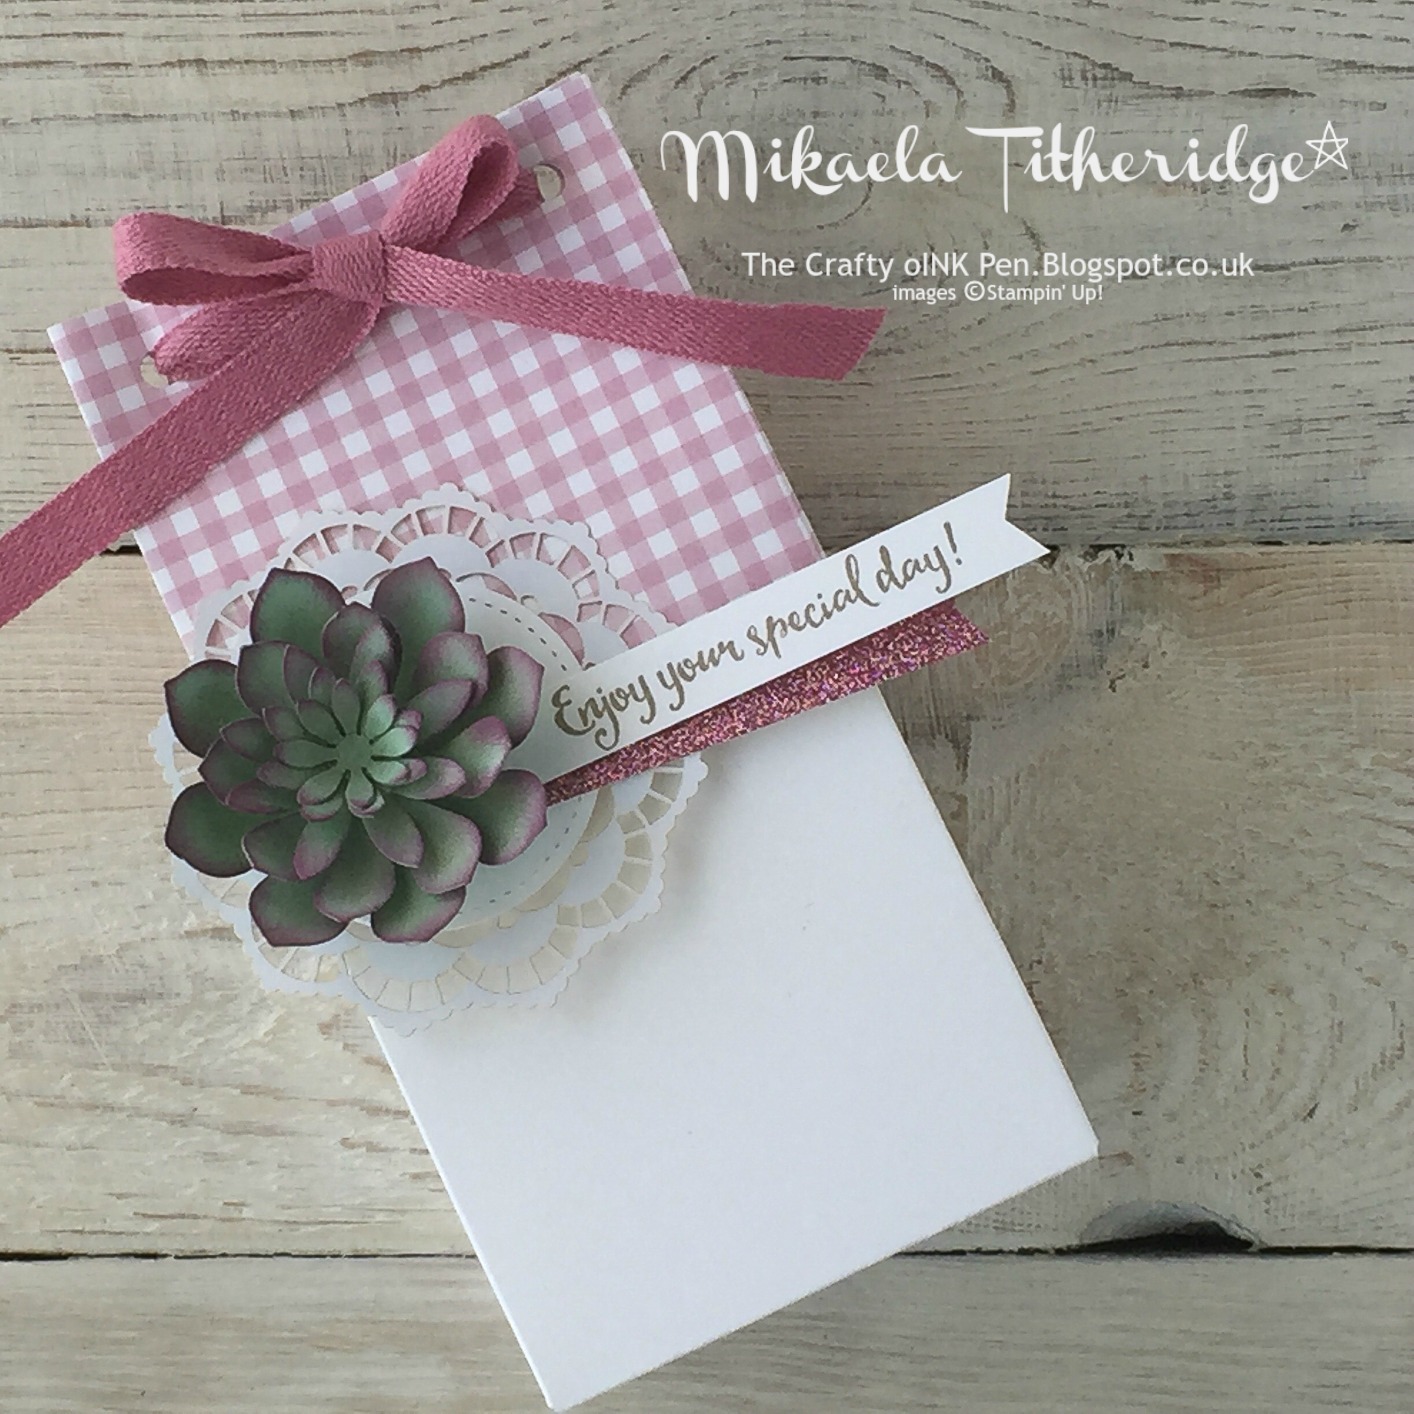
Oh, So Succulent Gift Bag on your Special Day

Aren't these succulent flowers oh, so beautiful?! I absolutely love them. They are so effective and look so very real when inked up on the tips. The delicate nature of them


This was just one of the projects that my ladies made at my recent overnight Retreat, where the Succulents Bundle played a big part. I'll be sorry to see this wonderful bundle leave us. 


Made using the Gift Bag Punch Board, the top and bottom of this gift bag, slide into each other, allowing adjustment for size and allowing the bow to remain tied.

A super pretty little bag.


FREE Giveaways available with Qualifying orders. Click on the cake below to read more about it. 


Wednesday, March 22, 2017

One for the Men on the Urban Underground

Here's some masculine inspiration for you using the Urban Underground Suite from the current Spring/Summer Occasions 2017 Catalogue. 

Many a crafter finds male cards difficult to create, as they favour all the beautiful shimmery, pretty embellishments, colours and stamp sets, but Stampin' Up! have excelled themselves here with this suite, offering us a kind of Retro feel to the Urban Underground set. 

I thought I'd add a pop of Pool Party to give it a lift, but really love the Delightful Dijon colour, coupled with the dark Basic Grey. 


It had been a while since I last created Rosettes with my ladies, so I thought we'd use the Urban Underground Speciality Designer Series Paper to create this Box Topper. The box was made using the Gift Box Punch Board, which created gift boxes at such easy speed, it's crazy. 

This was a set that we made in class, where I gave my ladies the choice of sentiments, so that they could tailor their cards to that of either a simple Birthday Card or that of a Father's Day Card. We covered cards for Mother's Day last month, so this month, I'd thought we'd follow on with a potential Father's Day card.


At Christmas I loved the thick Cable Knit Embossing Folder and now I'm in love with the Hexagons Dynamic Textured Impressions Embossing Folder. It offers such a deep impression with such texture ... it's gorgeous!

A simple, yet effective fold for this card.


The tools were coloured in using the Watercolour Pencils, which are so soft, that they made shading so easy. They smoothed out the shading with a Blender pen. 


I hope you like today's share and perhaps you'll consider purchasing this set to get creating some Masculine cards. 


Sunday, December 4, 2016

Creation Station Blog Hop - Wrap it Up for Christmas


It's Gift Giving Season and the time when we often spend more time and thought on our Gift Wrapping, so this month, the Creation Station Design Team are focusing on just that, with Wrap it Up for Christmas. 

If you've hopped on over from the very talented Dena Rekow at the Creativity Cave, then you'll have already seen some fabulous inspiration, well I hope you'll enjoy what I now have to share with you. 

NOTE: Sadly right now, there appears to be something wrong with the posting of Dena's blog post, so you may want to hop back to see Denita Wright's creation instead, to keep the hop going. Hopefully Dena will manage to get this sorted in due course.


Sometimes wrapping difficult presents can be an issue and although this particular project requires a relatively small present, the concept is the same if you were to use wrapping paper or, as I have here, a 12" x 12" piece of Designer Series Paper. 

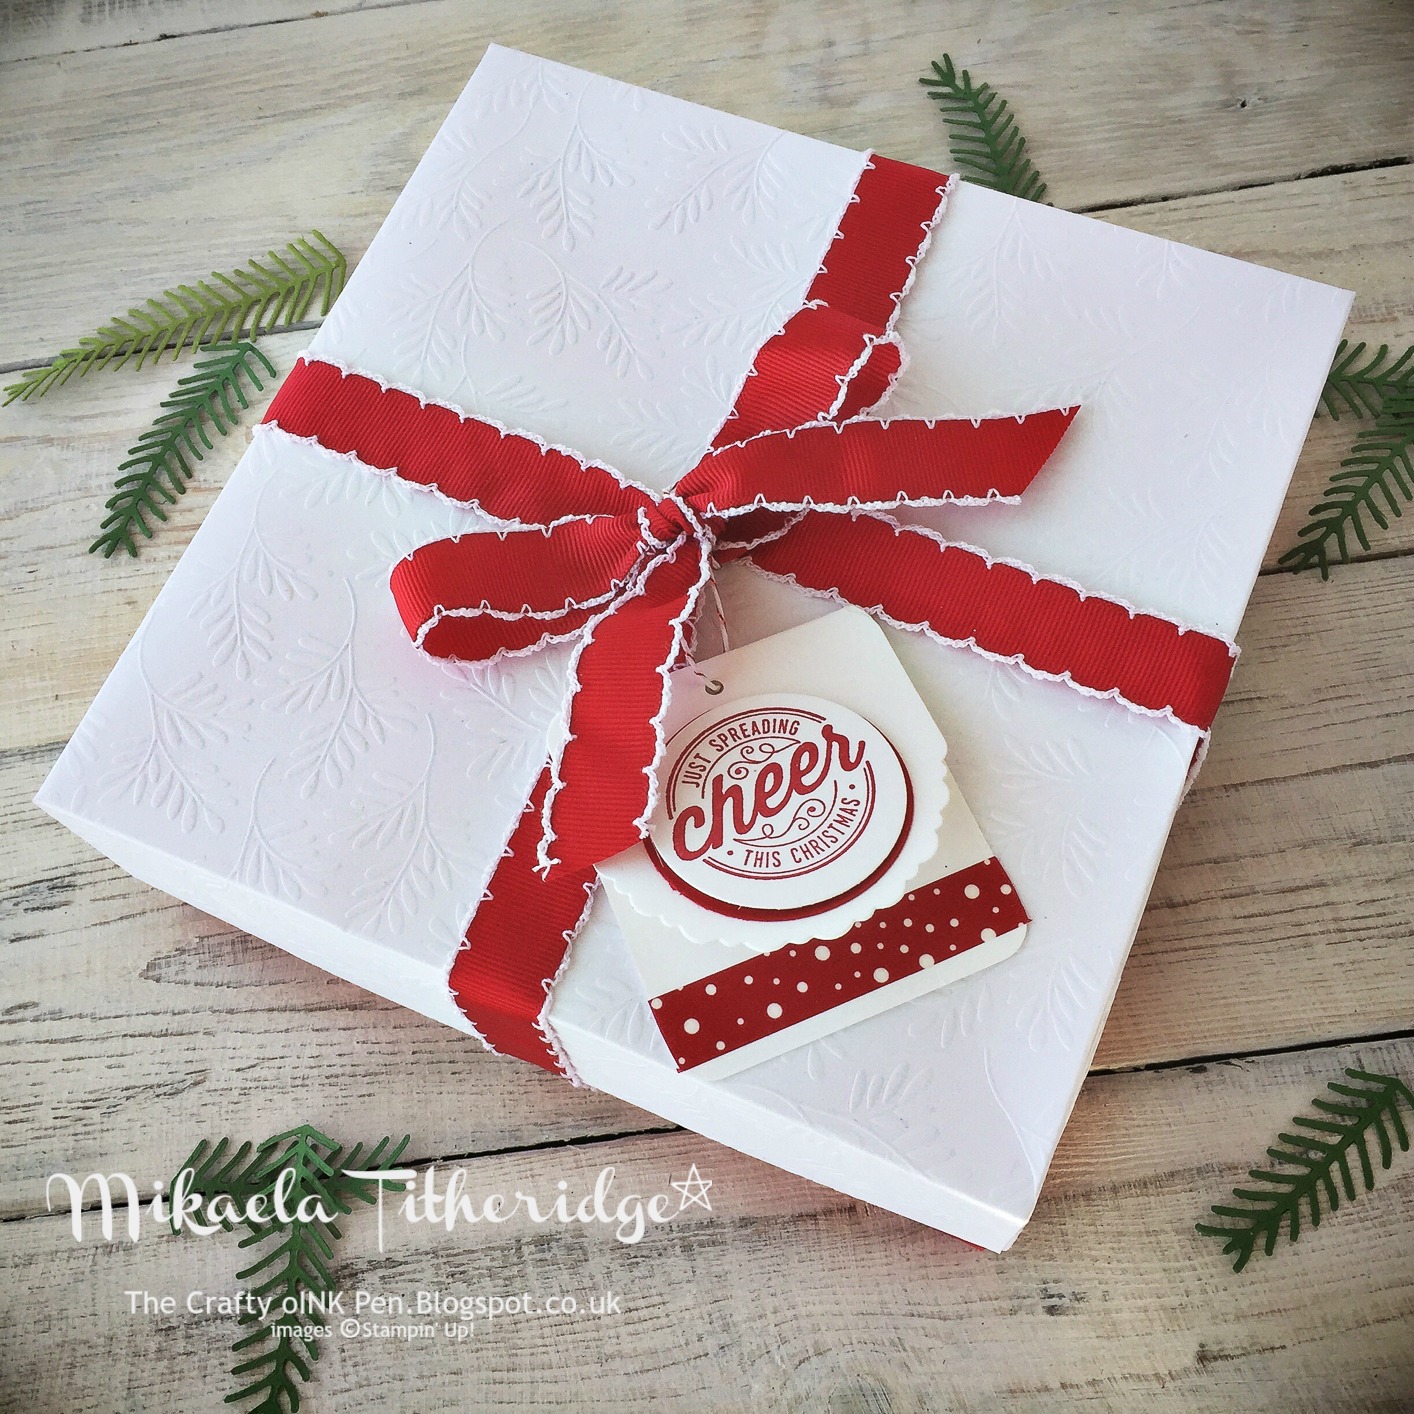
I love this particular pattern and believe it looks quite striking coupled with the Real Red Ribbon, which has now been reduced in price. 

Instructions to make a Gift Bag from a sheet of patterned paper


1. To make this simple gift bag, take a full size sheet of DSP and adhere it into a tube, before flattening it down (ensuring the join is to the middle) and creating a bottom flap, which will be the depth of the bag. 

2. You then need to open up the base flap, flattening down one side at a time, to create a triangle to the side.


3. Repeat step 2 to the other side, before folding up the bottom flap and placing some double sided tape on it (here I have used Red Sticky Strip so that you can see it). Now fold down the opposite side to create the base. 

4. Open the bag and give it some volume before filling it. 


5. Fold over the top edge and now create two punched holes. To help line these up, you might like this little tip. 

TIP: Take a long scrap of cardstock. Place it along the top edge of the bag and punch your first pole through the bag and cardstock scrap. Remembering which is the side and top, flip it over to the opposite side, pairing up the side and top again, before punching the second hole, through that of the last one in the cardstock. You should now have holes with equal distance from the sides and top for you to thread your ribbon through.


I then made these cute Candy Cane Gift Tags to attach to the front of my present. I had seen something similar last year on Pintrest and had to create something similar.


I love how you can add not only a gift tag, but a stick of candy to the gift at the same time.

I hope you have enjoyed what I have shared with you today and you'll find some inspiration from it for your Christmas gift giving this year. You'll find many of the items that I have used in the End of Year Sale, so 

Hop on over to see what the lovely Sara Levin has in store for you and enjoy the rest of the hop. 


Back to Dena Rekow      Forwards to Sara Levin

With temporary issues with Dena's blog post going live, you may want to hop back to see Denita Wright's post to help keep the hop going. 

Thanks for hoping by


Saturday, November 26, 2016

Stampin' Creative Blog Hop - Gift Wrapping ideas for Christmas


Welcome to this month's Stampin' Creative Blog Hop, where we'll be offering Gift Wrapping inspiration in abundance. 

If you've just started the hop, then be prepared to unwrap some real treasures today and if you've hopped on over from the lovely Sarah Berry's Blog ... then you'll have already unwrapped some. 

I adore Gift Wrapping, so to stop myself from offering a whole days worth of ideas, I've selected just two to share with you today ... but I'll have some more that I'll share over the coming week. 


I love the simplicity of these boxes ... made with just a Paper Trimmer and some 12" x 12" cardstock. 


Nothing screams Christmas more than the crispness of this Fancy Frost Designer Series Paper coupled with Real Red ... and what's better? ... The Fancy Frost paper is available with a 30% saving in the current Extravaganza Sale (£11.75 down to £8.23). 

Isn't this ribbon just so gorgeous?! I can't tell you the number of rolls that I've gone through since this Autumn/Winter Catalogue has been around. 


If all you want to give is a Bottle of wine to a neighbour, or a home baked loaf of bread, then the Here's to Cheers Stamp Set and Cheerful Tags Framelits bundle is a MUST HAVE. The sentiments and the tag shapes are just so useable and of good size for a sensible sized message ... These too are available with between 20-30% discount. The Framelits are down from £28 to £19.60 and would serve you well no matter what time of year. 

I often give handmade sweets, biscuits and treats from the kitchen, so the Food Safe Petite Café Gift Bags are a perfect choice and here I have added an embellished carrying handle, made using Designer Series Paper. 


The folded rectangle of DSP, is adhered to the back of the bag and folded forwards to create a flap over the front. 


Loving the ribbon as I do, I've not wanted to dispose of any off cuts, so tied together two off cut lengths to create this mock bow. The handle itself was created using the Jar Lid Die from the Everyday Jars Framelits. 


I've refrained from adhering the front, so that you can unroll the top of the bag easily and close it, without having to spoil the over all look of the gift bag.


It's amazing what you can use to wrap your gifts ... it's often good to think outside the box and be quirky for interests sake ... but whatever you do ... consider wrapping one extra gift this year for an elderly person in your street ... the smile that you'll receive in return, will be worth it's weight in gold. 

Now before you head off to my shop to purchase any of these items to recreate these projects, do hop on over to see what the very talented Eimear has to share with you. 


Blog Hop List

Wednesday, November 16, 2016

Merry Christmouse from the Merry Mice


These cute little mice showed an appearance at my recent class, upon popular request from my ladies and I have to say ... I thoroughly enjoyed working with them.


I'd been asked to come up with a Shaker Card for a while and saw an explosion box made by the lovely Kerstin Kreis ...... from Germany, that offered a shaker lid, which I loved the idea of ... so set to work.


With the little mice snuggled up in their winter woolies, I couldn't not use the Cable Knit Embossing Folder, which I totally adore!


One of my recent Stamp-a-Stack cards inspired me to create this Z fold card. I so love the fresh colours for Christmas, rather than the traditional ones that we see so much of. 


This was the Box Lid that I created. We filled the lid with Dazzling Diamonds Glitter to form a mini snow storm whilst the little mouse sing to his hearts content. Oh it was a fun project to create. 

Much to our luck, Stampin' Up! announced a Promotion soon after I'd published this class for a selection of stamp sets that were being discounted for the month of November and this was one of them.


If you'd like to purchase this Stamp Set for just £11.25, then make sure you get your order in with me before the end of November. Use my Club Code (published to the top right) and you'll receive a little Thank you from me, for choosing to purchase through me.

Now don't delay ... Don't let those mice get away


Saturday, July 30, 2016

Stampin' Creative Blog Hop - Cool for Kits


Welcome to the Summer Holidays and this month's Stampin' Creative theme of 'Cool for Kits' a theme where we wanted to showcase just how Cool our kits really are. 

If you've hopped over from the lovely Caroline's blog, you'll have already been spoilt to some fantastic inspiration and if you've started the hop here, then welcome and enjoy!

We have so many wonderful Kits available in the current catalogue, with my all time favourite still being Watercolor Wishes, which is an all inclusive kit and ideal for a gift or for a newcomer. I've been known to take one of these kits Glamping before now … 

Why am I not showcasing this amazing set? … well, for me, the gorgeous Perfectly Wrapped Kit lent itself to the project I had in mind for sharing with you this month.

Available: www.thecraftyoinkpen.stampinup.net

This kit is just gorgeous and creates no less than 16 different gift packages (4 designs and 4 of each). You need to purchase the coordinating stamp set to complete it, but you can see here, that's its a very usable stamp set for other projects.

I was recently delighted to have been enlisted by the parents of our son's fellow class mates to come up with some pretty presentation for the combined gift we had purchased for their teacher gifts. The stand out flowers, just look so special that I just had to use them.


Available: www.thecraftyoinkpen.stampinup.net

Having purchased a fabulous experience voucher for each teacher that came simply packaged in a square white box, my job seemed easy. 

Available: www.thecraftyoinkpen.stampinup.net

The Striped paper was from the Pop of Pink Designer Series Paper pack and all other embellishments came in the Kit itself. 

The vibrant colour of this stunning flower and the contrast with the Black and White had me creating this striking card to coordinate with it. 

Available: www.thecraftyoinkpen.stampinup.net

I love the little arrow line from the Perfectly Wrapped Stamp Set that sits along the bottom of this card and ties in with the Emerald Envy ribbon. 

To coordinate with the joint gift, I decided to use the box bases that come in the kit to hold a gusseted cello bag of yummy hand selected chocolates as our personal gift to the teachers from our son. The flowers to the front of these boxes were made using the same colour cardstock and various punches.


Available: www.thecraftyoinkpen.stampinup.net

I'm often drawn to the stamp sets that coordinate with our kits, as you'd ve surprised at just how much you can create with them, aside from making up the kit that it's suggested for. 

I hope you'll hop over to see what delights Eimear has in store for you, but thanks for stopping by.


If you like any of the projects you are seeing today and you'd like to purchase the kits to make them yourself, then take advantage of the last two days of our Bonus Day Vouchers. Earn them this weekend and spend them next month. One £4.50 voucher for every £45 spent. No limits on the number of vouchers earned and you can spend them on whatever product you like next month. 


Thanks for visiting and enjoy the rest of the hop. 

Mikaela x